|
FUEL DELIVERY
|
|
When swapping any EFI engine into a Datsun Roadster, or any other car, you have to add a high-pressure fuel pump. The easy way is to mount an external pump, although many report these to be annoyingly loud. I went with the in-tank solution of an OEM Honda pump. This pump works because will fit in the Roadster's relatively shallow tank. Most pump assemblies, such as that from the Miata itself, are quite tall. The installation of the Honda pump has been well-documented by others, such as here. The specific source for this pump, according to my notes, Hondas and Acuras from the second half of the '90s. When I first went to the junk yard, I was in a hurry and (a) did not consult my notes and (b) did not check the pump, or even think very much, before buying the tank. You have to buy the whole tank to get the catch can, so the pump will not be starved during cornering and such. So, since I didn't want to buy another tank, I made due with the wrong catch can and simply used it with the proper pump, which I bought later on. This earlier catch can seems to be bigger than the later one and doesn't fit so well; I had to mount it backwards. I found that, in my opinion, the Honda pump assembly is *too* shallow. With the stock mounting ring, the base of the pump hangs over an inch above the bottom of the tank. The stock Roadster fuel level sender registers "empty" at about 1/4" from the bottom of the tank. So, I removed the ring, but the pump was still high, so I modified its mounting bracket in a manner that is a little kludgy, but should work fine. I went with a no-weld solution because (a) I don't weld and (b) I didn't feel like taking it to a place willing to weld a gas tank only to have them screw it up somehow. There are way too many bits and pieces to get in the right place for me to risk the odds. Again, the end result is not as polished or pretty as I would like, but it is functional, and will be hidden away. It does have the small benefit of being easily disassembled should I need to. |
|
 |
I made a few paper templates to figure the smallest area I could cut out and still fit the pump, sump and fuel level sender. I ended up with this rectangle. I drilled out the corners, then cut the panel out with a sabre saw (it did not blow up). Then I drilled out the welds holding on the sender mounting ring and the breather tube. |
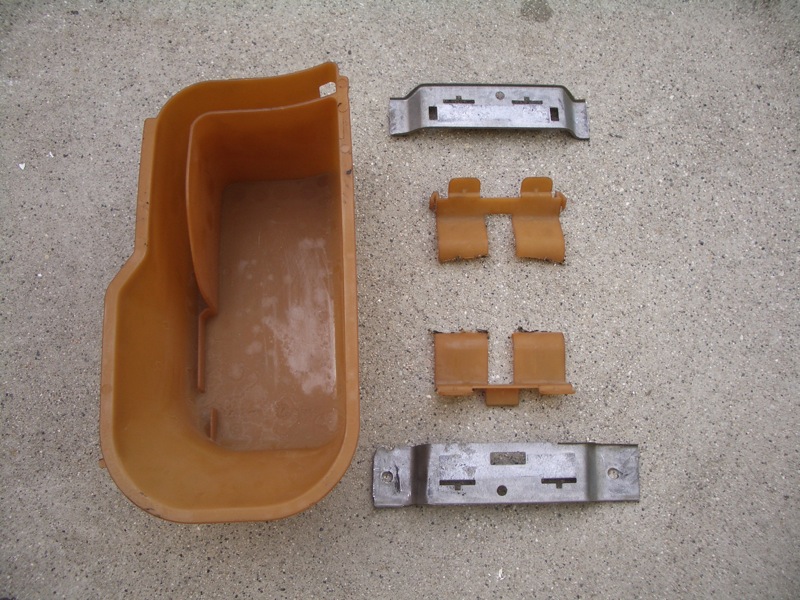 |
The Honda tank is not a simple box, like the Roadster's, so I cut into it with a cold chisel (it did not blow up) to get at the catch can and the complex pump mounting ring (not shown), which I did not use in the end, although most do. If you buy the correct tank, you will not see this catch can, but what follows is how I modified. First I cut off the mounting tabs so that it would sit flat on the bottom of the tank. |
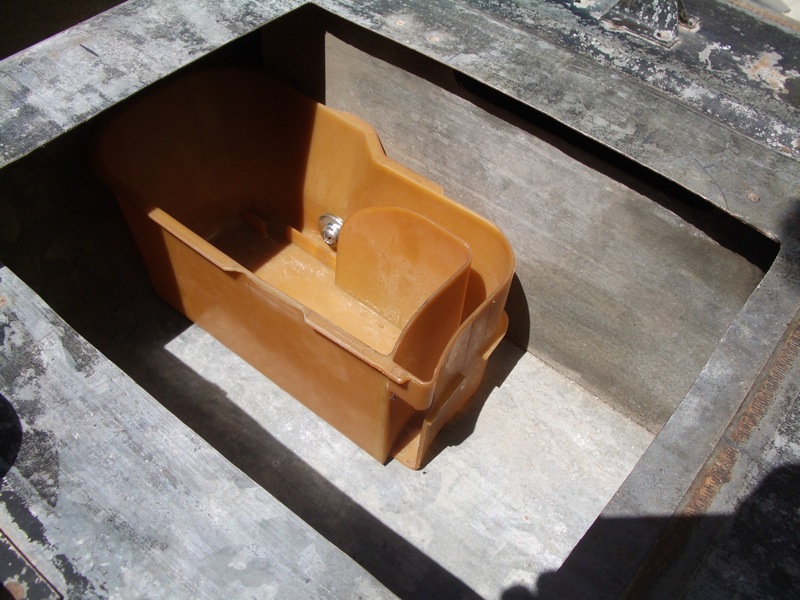 |
Then, after many fitment tests, I mounted it to one of the baffles with a very large sheet metal screw. A wide fender washer distributes the squeeze of the screw on the plastic wall of the catch can. |
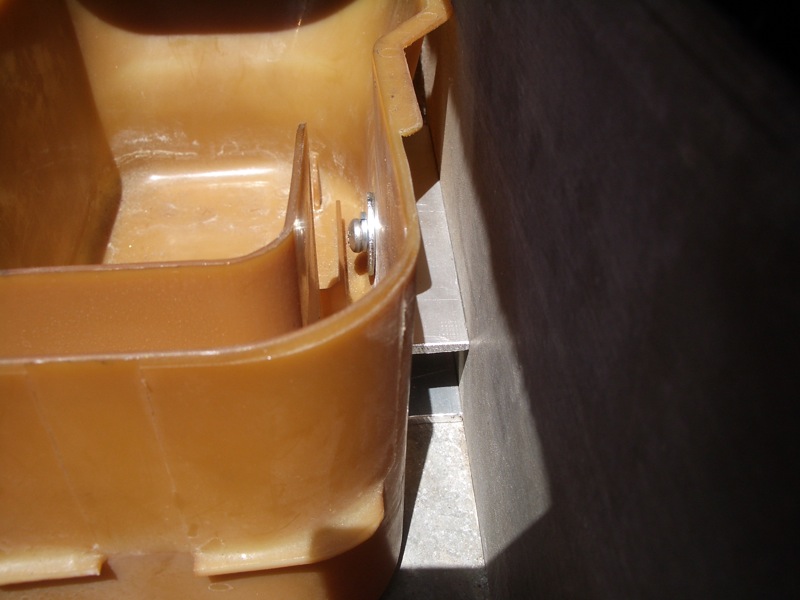 |
Between the catch can and the baffle is a piece of 1" x 3/4" aluminum channel; it serves as a spacer. |
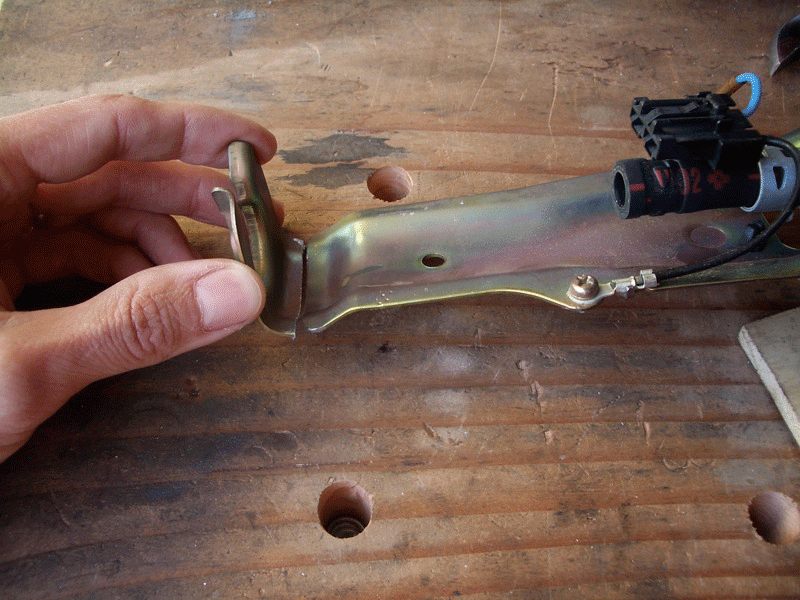 |
As mentioned above, the stock Honda pump assembly held the pump too high above the tank bottom for my tastes, so I modified it by cutting the base of the bracket away. Click on the thumb to see before and after.
|
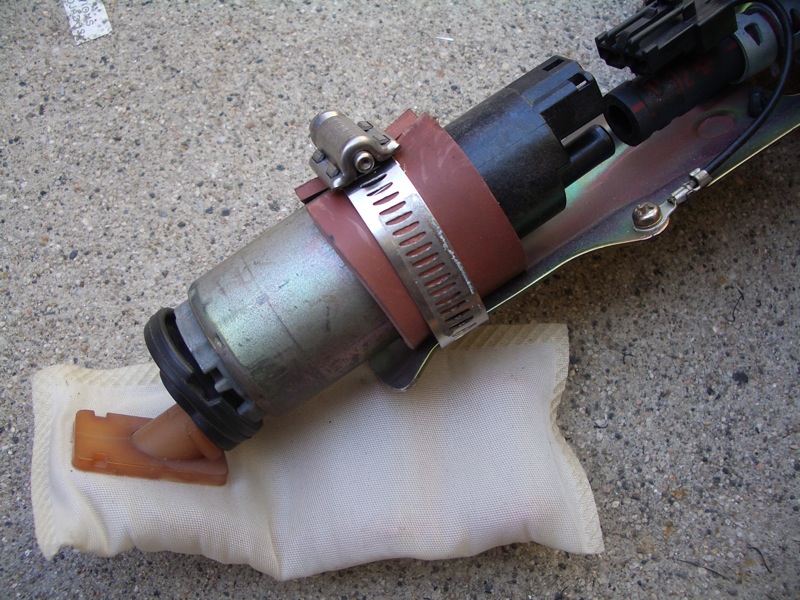 |
With the bracket modified, I could now adjust the height of the pump, and made it so it kisses the bottom of the catch can. The pump is very firmly held by the hose clamp. After this photograph, I replaced the orange rubber with a short section of radiator hose and turned the hose clamp to face down to improve ease of installation.
|
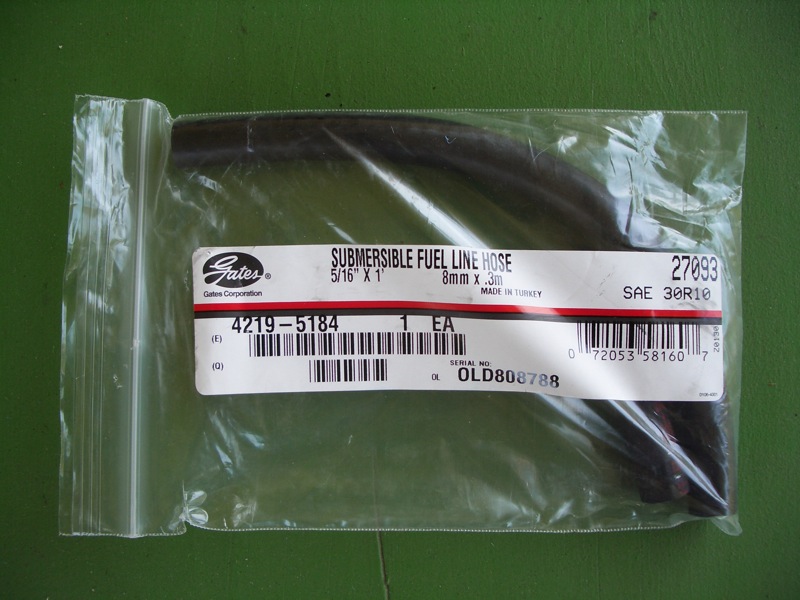 |
If you modify the pump to sit lower as I have, be sure to use in-tank EFI fuel hose for your new, slightly longer hose between the pump and the outlet tubing. Regular EFI hose WILL FAIL, sometimes quite quickly. The hose made by Gates, as a 5/16" side, in 12" lengths. It is Gates #42195185 or #27093 (Napa #H209). |
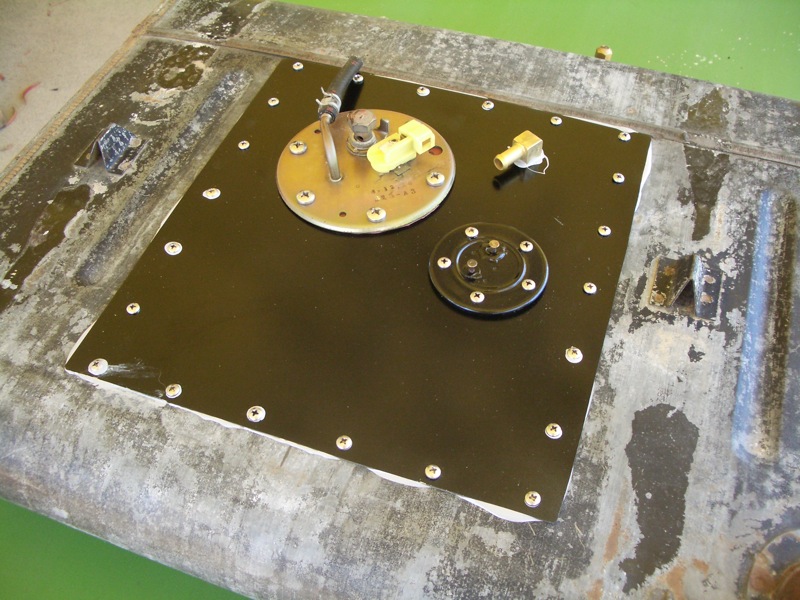 |
I affixed all the mounting nuts for the Honda fuel pump and the ring for the fuel level sender with JB weld. Not sexy, but it gets the job done. Lots of #6 sheet metal screws and a thick layer of fuel-resistant Hylomar gasketing material and the tank is back together.
|
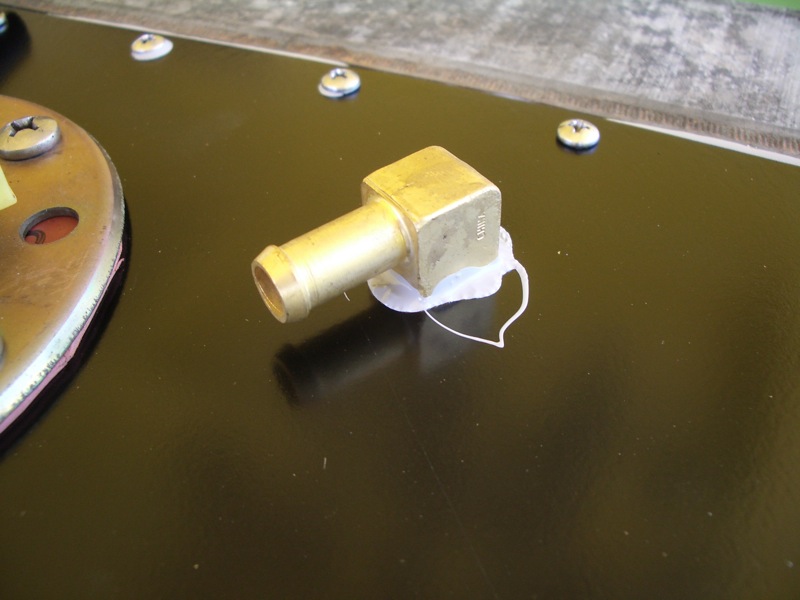 |
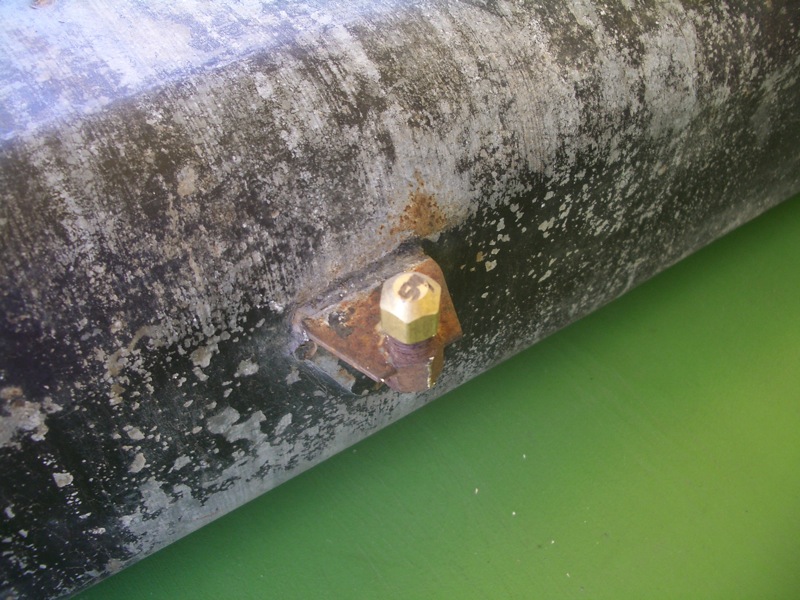
The breather tube fitting is a 90-degree elbow: 3/8" hose to 1/4" MNPT.
|
 |
The old fuel line outlet is easy to cap. I forget the specs of the fitting, but it's the same as the union fitting along the passenger frame rail, so you can always carry that to the store with you to test fitment. |
 |
I cut strips of a strange plastic felt from a nearby discount fabric store to make the isolating belts for above and below the tank. They should result in the same thickness as the stock felt-like strips.
|
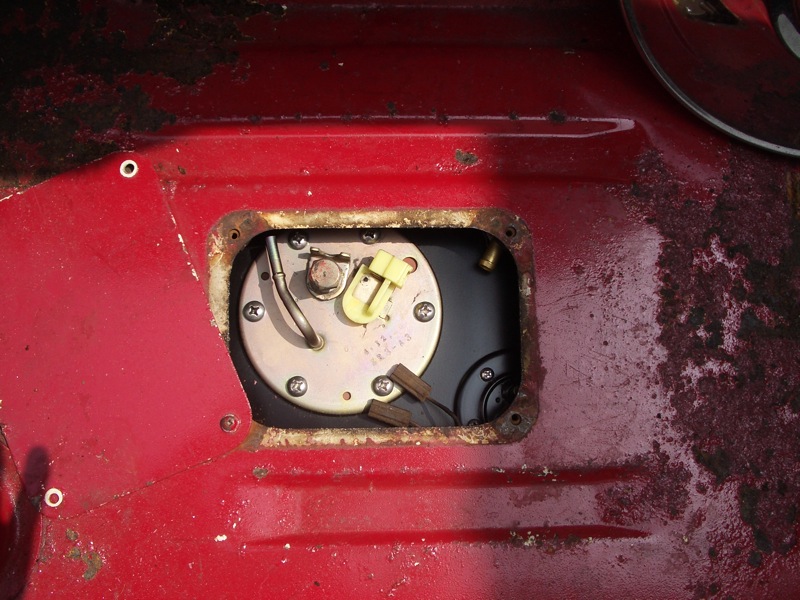 |
Here is a view of the new tank through the access port in the trunk. I would have loved to place the pump farther back, so that it would come out through this hole, but the sump basin was as far back as it would go. I'll never get the fuel level sender out now without dropping the tank. But, at least I can access all the lines and leads from here. |
The fuel outlet on the Honda pump is a 12mm banjo fitting leading to a bizarre steel and rubber hose that is useless in this application. I got a similar hose off a '93 Acura that had a longer steel portion that I cut off before the rubber hose and joined to my 5/16 steel lines with aftermarket 8mm EFI hose.
|
|
The fuel return on the Honda pump is tiny -- 6mm (1/4"). I split the difference by using a 7mm diameter EFI hose between the 6mm fitting and the 8mm line.
|
|
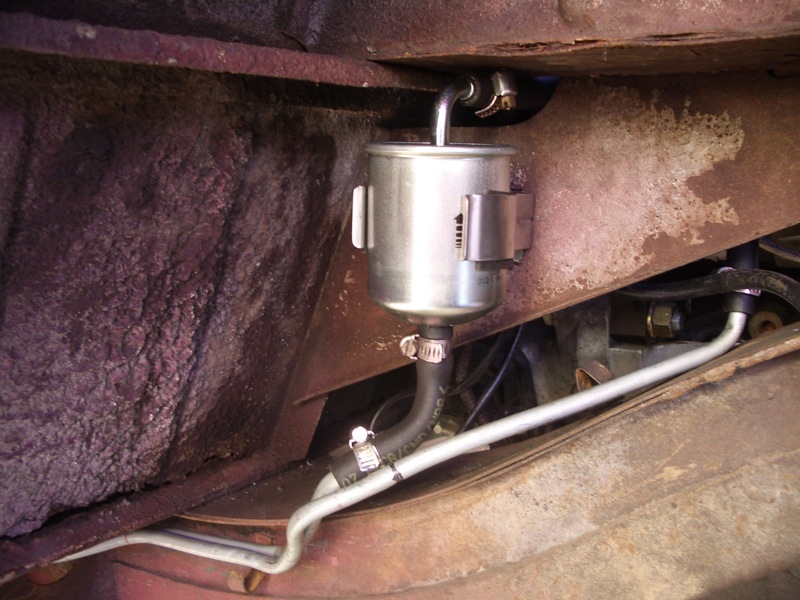 |
The fuel filter solution is from a 1993 Nissan Altima. It's easy to grab from the salvage yard (for the bracket) as it is mounted on the firewall in the Nissan. I mounted mine in the passenger wheel well. I may end up making a shield/enclosure for it. We'll see. |
 |
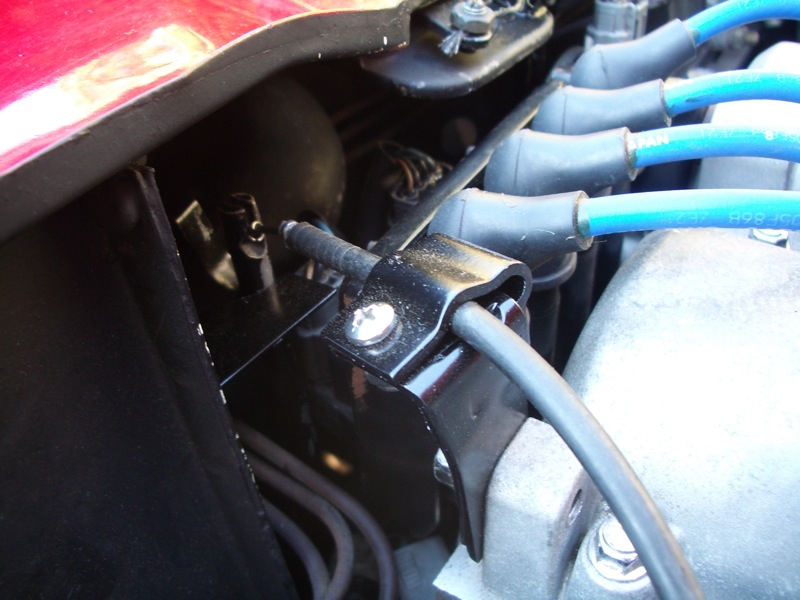
A clean, simple throttle stop that holds the throttle lever in the same position as stock. I could not use the stock stop, however, because it interfered with the coil bracket. Ultimately I will probably modify or reposition the coil bracket, the throttle lever strikes it when the engine lugs and under extreme acceleration. |
 |
The throttle cable was originally the cruise control cable from a late-model Honda. I believe it was a 4th generation Accord. it is, magically, the correct length, has the correct ends and has the clamp bolts at the throttle body end in the right place. All I had to do to modify it is trim about an inch of sheath off the throttle lever end of the cable. |
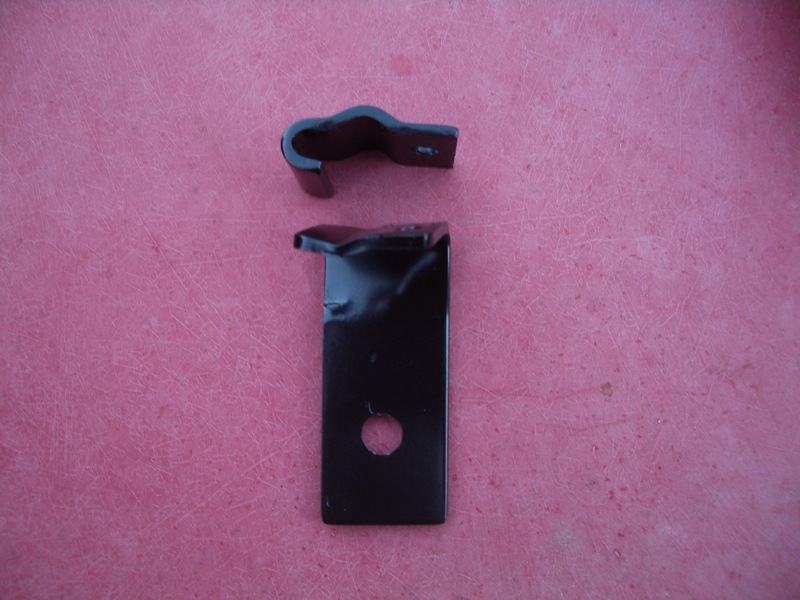 |
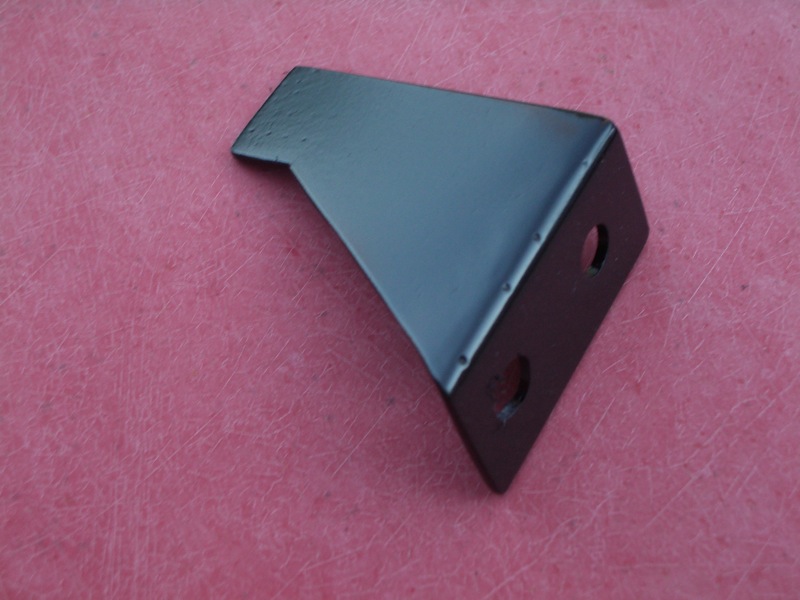
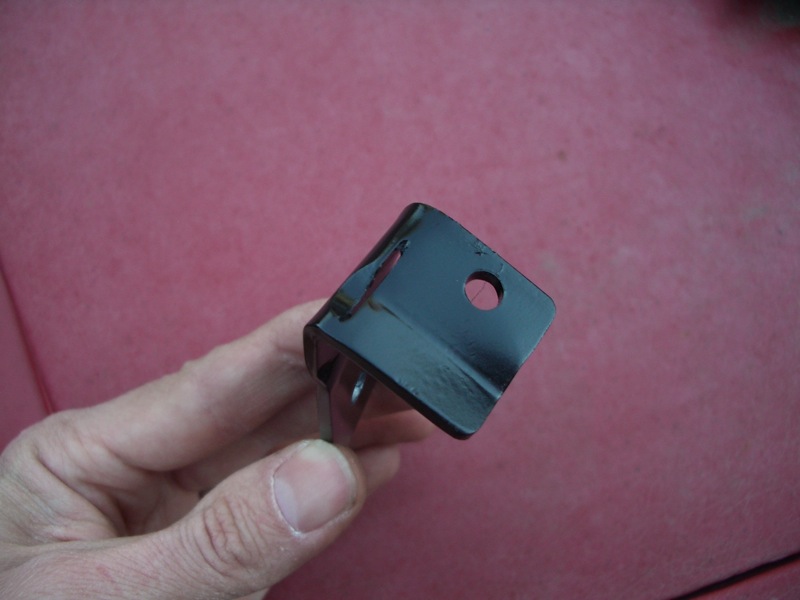
I don't love the bracket I made for the throttle lever end of the cable. It is the one piece on the car that was designed with a hammer instead of a ruler. But, it works and looks okay if you squint at it. The clamp is stock Roadster. |
 |
Here's a view of how I made the depressed channel in the top of the bracket to hold the cable in place properly. |