|
TRANSMISSION
|
|
I chose to go with a 5-speed transmission for my swap. Wade, the trail-blazer on the Miata-into-Roadster swap, used the 6-speed. His route has two major advantages. (1) The stock Roadster differential has the same gearing as the differential on the 6-speed Miata. (2) The 6-speed apparently has a much narrower tail section than the 5-speed. Point (2) is open to debate. The first-generation (NA) Miata 5-speeds may be narrow, too. It just so happens that folks who sold me my transmission shipped me a second-generation (NB) 5-speed. It bolts up more or less correctly, but it sure is bulky in the back. I had to cut a lot out to fit over the X-member. I also went with a different way of mounting the transmission to the frame. Wade drilled two holes in the X-member, with the body off, then sandwiched the X-member with bushings from a Volvo 122. I drilled two holes in the X-member, with the body on, then bolted a custom mount to them. The end result is a little cleaner looking and, if I've measured correctly, places the center of the Miata output shaft at the same height as the stock Roadster output shaft. Apparently Wade had to adjust his pinion angle to accommodate the greater output-shaft height that his bushings produced. The sole disadvantage to my approach is that the transmission is mounted too close to the X-member to fit a mechanical speedometer drive and cable. In fact, even the rather small electronic drive only fits with some shaving. If the transmission is mounted higher, like Wade did, you can use the mechanical drive if your Miata transmisison comes with one -- the Datsun Roadster speedo drive screws right in. If you have a later Miata transmission with an electronic sender, you can pull the mechanical drive out of an early RX-7 (along with the worm gear off the output shaft of the RX-7) and that will work, too. My transmisison sits so low that even the electronic drive barely fits. I may end up using that stock sender, slightly modified to fit, or an aftermarket inductive vehicle speed sensor, like the one Dakota Digital manufactures, which is widely available for about $50. For the time being, I've simply memorized the speeds for each gear at 3,500 RPM and let that and the surrounding traffic be my guide. |
|
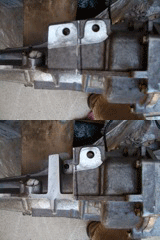
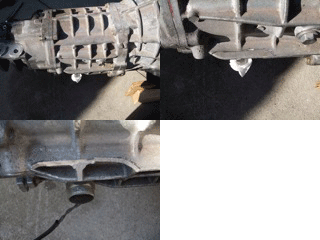
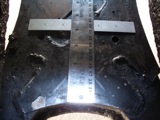
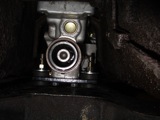
The Miata has a long rail running down the center of it, to which the transmission bolts through these two big holes. But, on the Roadster, this mounting pad wants to exist in the middle of the X-member. So, it has to go. Even though it's aluminum, this was a whole lot of hacksawing. |
|
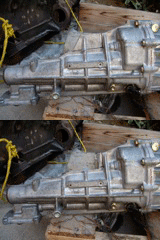
You'll notice I did not saw where I drew my line. When I looked on the other side of the transmission, I noticed that my line would have me cutting into the sloping back face of the transmission. So, I followed the face, instead. |
|
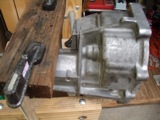
When I test fit after the previous cut, I found I still had clearance issues, so I pulled the tail housing and found I could cut much farther in without compromising it. This is the cut that followed. You'll see that I cut completely flush with the angled rib. The cut piece is sitting in place just to the right of the clamped 2x4. |
|
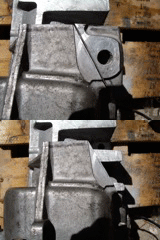
The front passenger-side leg of the x-member goes through where this PPF mounting point is. So, it had to go. This cut goes to the same depth, in the horizontal plane of the transmission, as the previous cuts. |
|
A little bit of rib had to go to clear the transmission tunnel. |
|
At the moment, I'm pretty sure that this cut to the top rib of the transmission is not necessary. I did it to clear the Roadster tunnel brace when I was planning a mount that made the transmission sit much higher. The mount documented below allows plenty of clearance. |
|
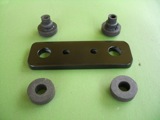
Here is my transmission mounting bracket. The bracket is a 3/8" thick piece of steel drilled to take two industrial vibration isolators. I ordered the isolators from a place called DrillSpot.com. I placed the order at around 10 p.m. one night, and got them 6 p.m. the next day, on standard shipping from halfway across the county. I was impressed! |
|
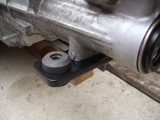
The bracket mounts to two existing 10mm threaded holes on the tail housing. This combination puts the transmission output shaft at the same height as stock (if I measured correctly). Note that both this mounting plate and the gear shift mounting cover have to be removed for the transmission to easily slip in between the x-member and the transmission tunnel brace. |
|
Here is the PDF template for the bracket. You could totally make it out of aluminum, if you want. If I were to make it again, I would certainly do so. Drilling 3/4" holes in 3/8" steel takes a while, at 1/16" increments, even with a decent drill press. |
|
The two outer holes in the bracket, with the bushings, take two very long 5/16" grade 8 bolts that go through holes in the top and bottom bracing plates of the x-member. Drilling these holes was not fun, but is completely doable without removing the body. Here are the holes seen from above, through the shifter hole in the cabin. |
|
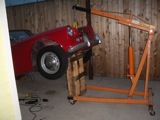
I needed 18" of clearance to fit my drill, and I availed myself of my 2-ton hoist to achieve it. Basically, I hoisted the car until the tailpipe (which is cut on an angle) kissed the ground. I trust my hoist, but laying under there still scared the crap out of me. |
|
The drill was mounted to a right-angle jig (the black posts in the picture), which was itself mounted to a positioning plate that I made. The positioning plate is then mounted to the stock transmission mount support. This ensures that the holes I drill will be straight up-and-down and follow the centerline of the car -- at least as much as the stock transmission did. |
|
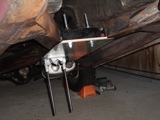
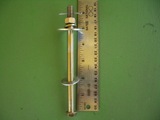
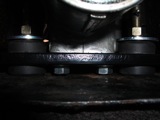
Two six-inch-long 3/8" bolts hold the transmission mounting plate down to the x-member. For reasons both aesthetic and practical, the bolts go up from below, so I added a cotter pin so they couldn't fall out completely if the nut loosens up. The really big washer comes with the isolator and serves to hold everything in place even if the rubber fails. |
|
Here is a view of the transmission bolted into place. It's hard to get a decent shot under there. |
|
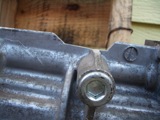
This is a close-up of the same. I'm hoping that the 1/8" below the two silver bolt heads will be enough. I think it should be. If not, I'll remove the thick lock washers and use liquid thread locker. |
|
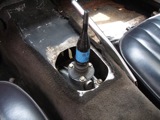
That's it. The shifter comes out of the stock hole in the transmission tunnel centered front-to-back and side-to-side. The threaded end needs to be turned down and re-threaded to 5/16" - 18tpi for any standard early-Roadster shift knobs to fit. There are plenty of aftermarket knobs for the Miata, though, if you want. |
|
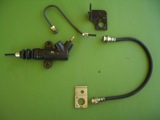
Here are the elements I used to link the stock Roadster clutch master to the Miata clutch slave. Clockwise from left: Miata slave; custom bent 10" length of 3/16" steel brake tube with 10mm x 1 inverted flare fittings; stock Miata clutch line upper bracket; stock Miata rubber clutch line; stock Miata clutch line lower bracket (modified). I also modified the very tail end Roadster hard line, as described below. |
|
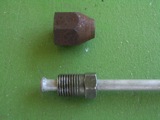
I cut the flare off the end of the stock Roadster steel clutch line and removed the stock fitting (shown above), replacing it with an inverted flare fitting with 10mm x 1 metric threads (shown below). Then I made a new double flare to replace the one I cut off. Metric double flare fittings work on the same sizes of tubing as SAE flare fittings. Very convenient for this sort of puzzle. |
|
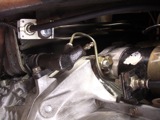
Here is a view of everything in place. The black Miata bracket bolts to the block; the gold Miata bracket bolts to the stock Roadster clutch bracket on the frame rail. |
|
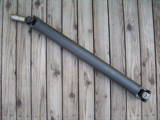
Here is the driveshaft, as grafted (Miata nose, Datsun tail) by Laszlo (Les) at Driveshaft Masters. He's a real nice guy who seems to have an interest world of his own set up in Harbor City, CA. The driveshaft was done in a day and fits great. We'll see how it spins.... |
|
Filling the transmission with oil is no fun, albeit no less fun than on a stock Miata. I don't recall how not fun it was with the stock Datsun. I'm thinking very. If you don't have one of these handy pumps, you're torturing yourself even more than you need to. |
|
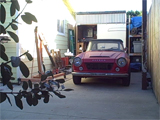
Here is the car moving under its own power for the first time in more than a year. Just a little back-and-forth to make sure the clutch and transmission were working properly. Aside from the exhaust "leak" and filterless intake, it was spooky quiet under power. I could get used to that. |
|
